3D printing

Using a lighter to remove stringing from parts | AG3D Testing | 3D Printing Tips

Using a lighter to remove stringing from parts | AG3D Testing | 3D Printing Tips

From my experience 3D printing, there are many times when you 3D print a part but it requires some extra work to clean it up afterwards. You can refine your machine and tweak settings to get it to print perfectly, but I’ve found it more efficient to make sure a model(s) 3D prints properly and then find new techniques to save time and thus money. So when I heard from a friend that you could use a lighter to clean up the stringing on my 3D printed parts, a lightbulb went off in my head - let’s try that this weekend! So here we are…

Using 3D Printing to fix a pair of high-heeled shoes

3dprinting_project_heel shoes.jpg

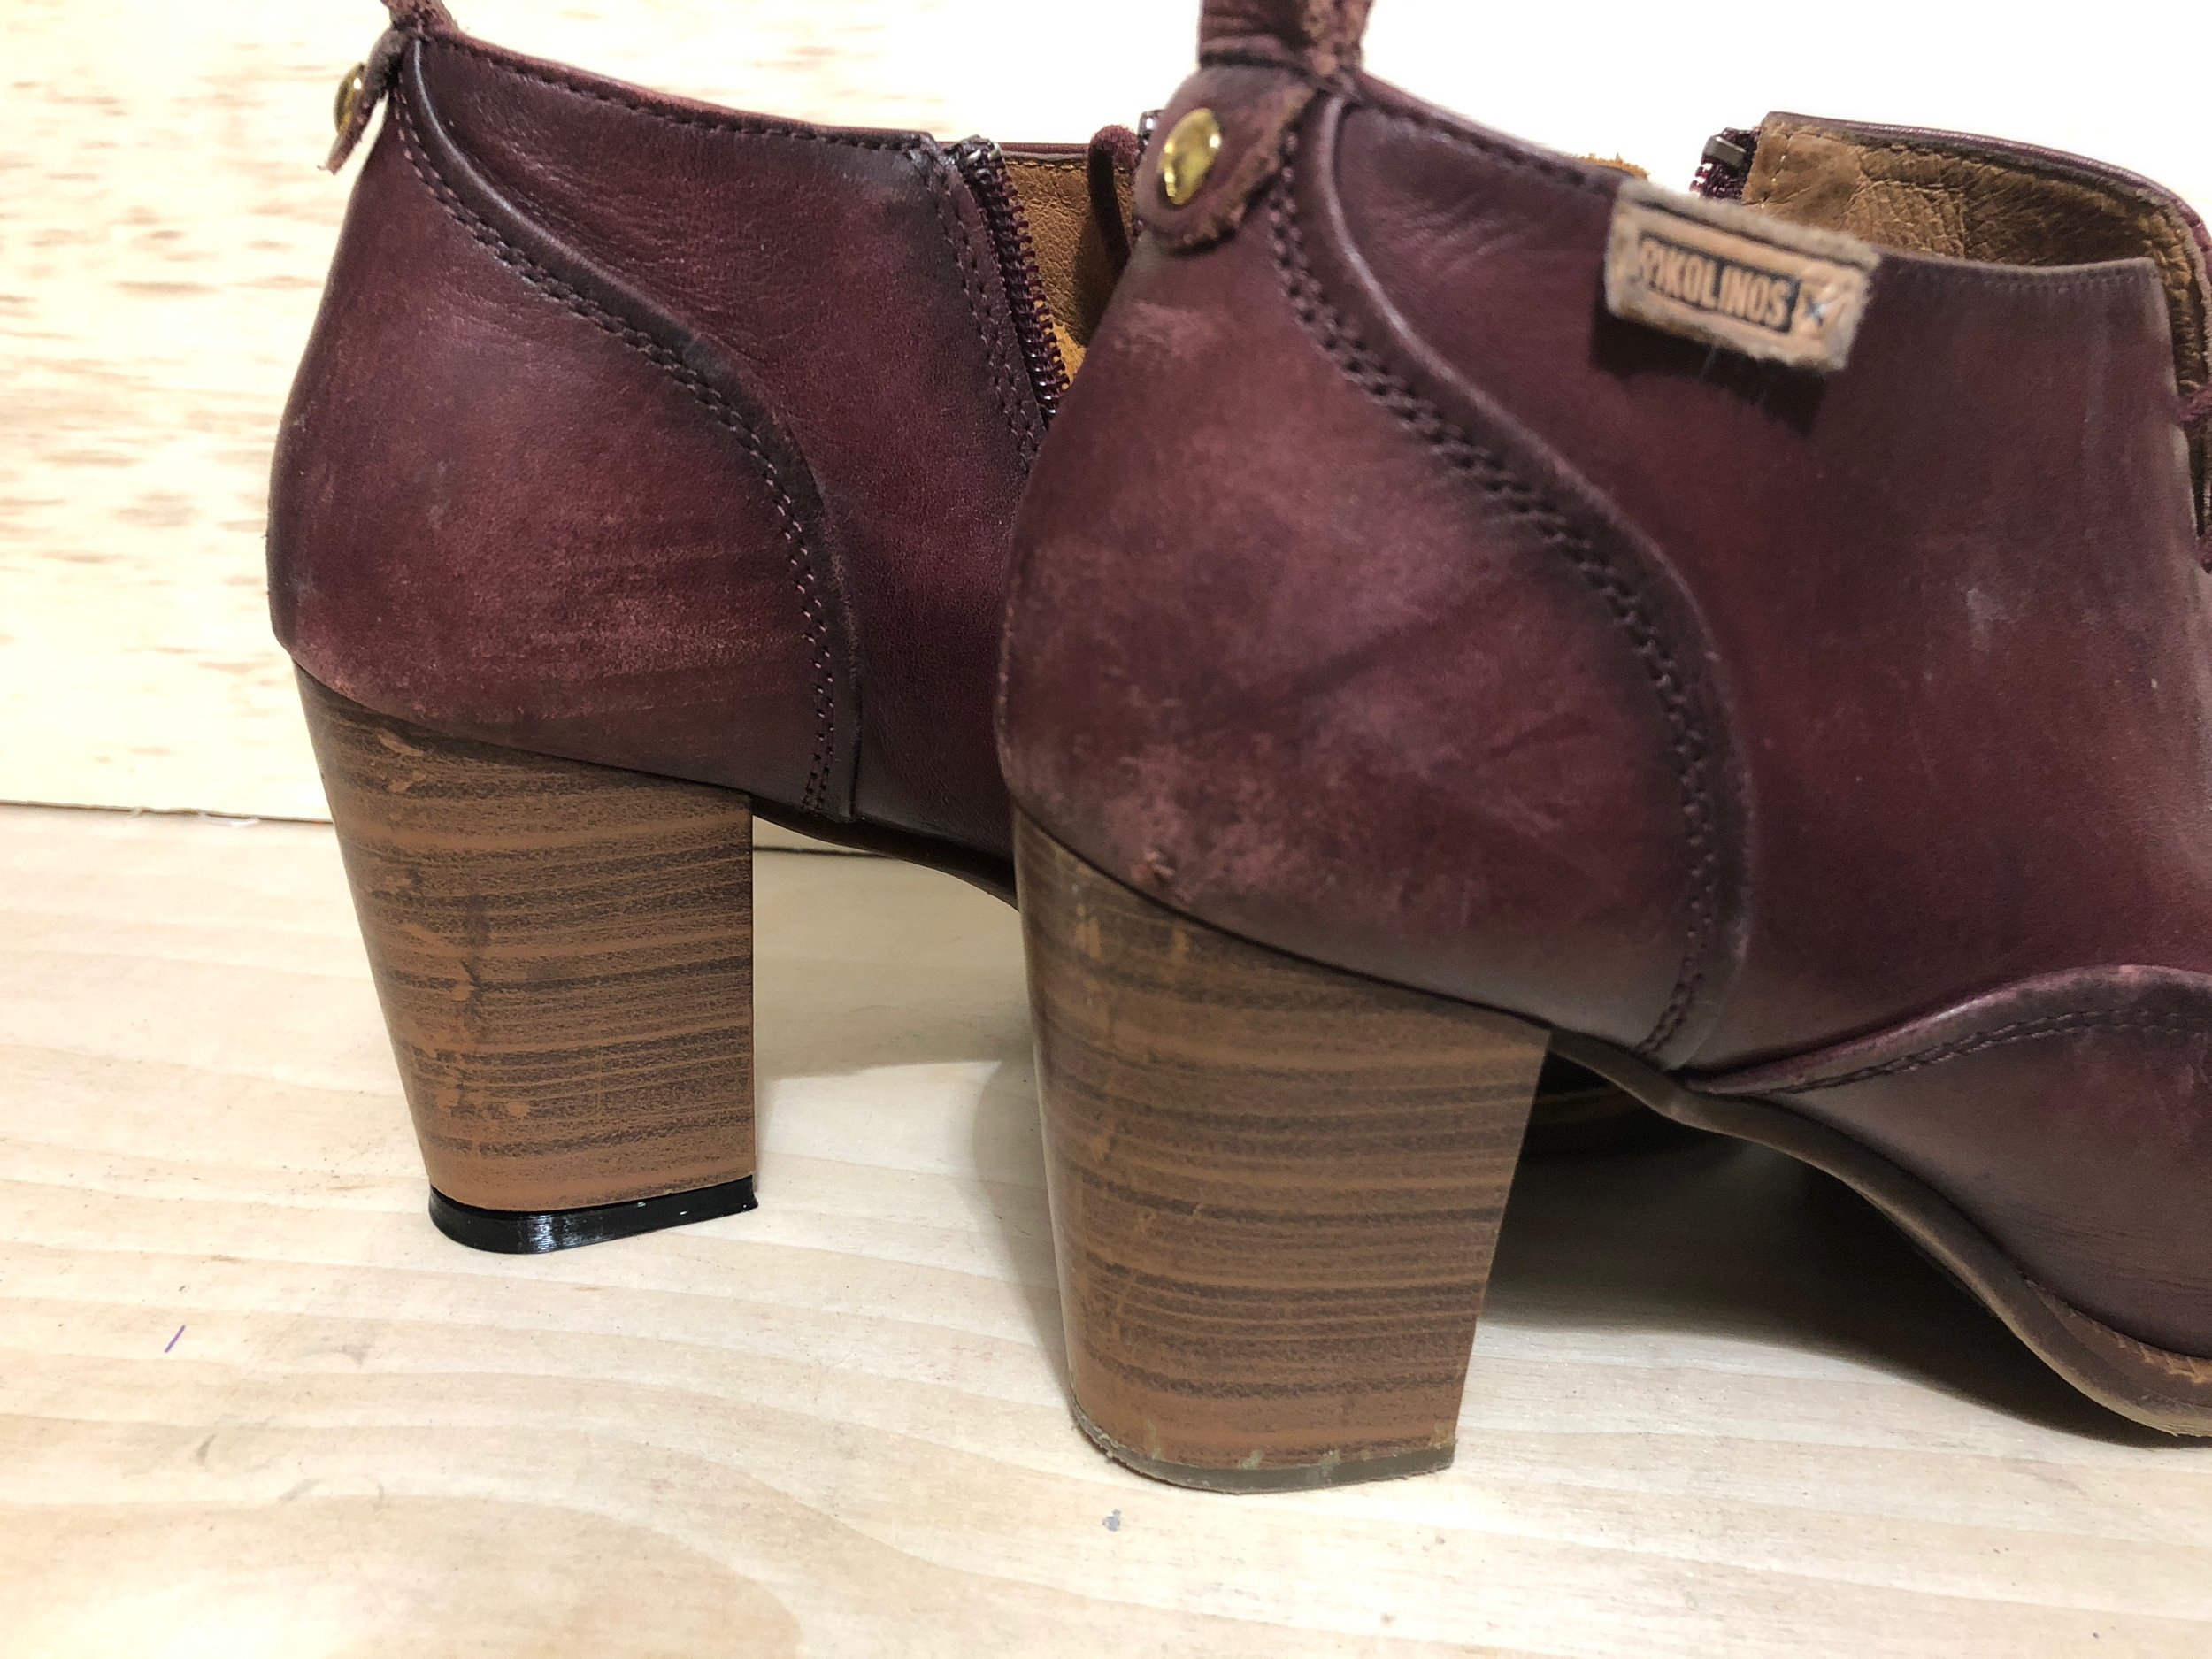
A customer reached out to me recently to see if it was possible to fix a pair of high heel shoes with 3Dprinting. The original heel top piece fell out of the shoe one night, but other than that the pair of shoes were perfectly fine. Not only was the replacement heel top piece possible, but it was a great opportunity to try out some exotic flexible material. 

Tools used:

  • Mitutoyo manual calipers

AG3D_3dprinting_calipers.JPG


  • Prusa i3 Mk2

Credit: Prusa Research

Credit: Prusa Research


  • Fusion 360 design software

Get it free as a student, educator, or academic institution! 

  • Simplify3D Slicing Software

  • SemiFlex 1.75mm TPU filament from NinjaFlex

NinjaFlex Semiflex 3D printing filament.jpg


DESIGN:

The 3D printed heel top piece was reverse engineered from the remaining top piece and the bottom of the exposed heel. I simply used a caliper to measure various parts of the bottom of the rubber heel shape, taking into account wear from use. After some initial measurements a few minutes of designing in 3D the bottom of the top piece was designed. 

One of the more challenging parts of this project was deciding how to properly reattached the top piece. Luckily, the original heel was designed with inserts and locating pin holes. This would make sure we could attach a new top piece in the right position in the heel without worrying about it spinning around in place and detaching after a few nights on the town.

The rest of the top piece design was simple: 

  1. Make a vertical piece in the center to go into the heel and provide most of the strength including preliminary positioning.
  2. The three pegs would be used to put the top piece in it's final position for bonding.
3dprinting fix heel shoe.JPG

For the sake of saving time, I took the initial measurements and made a prototype to test the design and fit of the part so far. It may not seem intuitive at first, but this iterative step allowed me to see how close my measurements were for the real life thing. So instead of finishing the design completely and then making the 3D printed part, I tested a smaller concept piece to see how the flexible material works with the heel.

Once I had the prototype made, I could make design decisions on things like:

  • The shape of the vertical guide piece
    • Should it be solid and stiff, or flexible and strong enough?
  • The height of the locating pins
    • Should they be as long as possible for added strength, or do they simply need to fit in place?

I could have spent a while trying to guess these things ahead of time, or simply spend less than an hour 3Dprinting a prototype and testing it on the heel itself. This is the power that 3D printing gives you when you design iteratively. Build and tweak your design faster and more purposely. Don't spend your whole time trying to finish the whole thing, because it will take you that much longer when the product is not what you wanted and you have to redesign the whole thing in reverse.

In total I spent an hour designing this from start to finish, including all of the minor tweaks and details for the second prototype. 

3D PRINTING:

Flexible Material:

It may not look like much, but tieing a knot with 3D printing filament is impossible, unless it's flexible! This gives you an idea of just how flexible SemiFlex is.

It may not look like much, but tieing a knot with 3D printing filament is impossible, unless it's flexible! This gives you an idea of just how flexible SemiFlex is.

3D printing with flexible materials is not easy. Even if you manage to 3Dprint properly with it, you have to print very slowly (35% regular speed) which can be cumbersome on larger or high detail projects. In order to get around the speed factor, I used a 0.60mm nozzle and a 300 micron layer height (default is 200 microns). This cut the print time in half to under an hour for each prototype because each layer is 50% larger. 3D printing flexible material is almost impossible on a Bowden style 3D printer, but with a direct drive extruder like the Prusa i3 MK2, simply shut off retraction and let it run!

Since the design doesn't require high detail I was able to successfully use both a larger extrusion line and layer size. I found that the semiflex material printed much easier when compared to using the default 0.40 mm nozzle. In retrospect that's not surprising, as the material will have a larger hole to exit the nozzle requiring less force to push it through the nozzle. This helps with flexible materials because they can get stuck and jam in smaller nozzles.

Most of the time, the flexible material will fail because it will bend if too much force is trying to extrude from the nozzle. It becomes as difficult as pushing on a rope (which if you've ever tried, is impossible). You have to find the right balance of "pull" from the extruder gear and pushback from the filament squeezing through the nozzle. With a bigger nozzle, the same settings worked just fine to extrude the flexible material.

WHAT DID I LEARN?

What I learned from the first prototype was that the vertical guide did not need to be a solid stiff piece, but worked much better as a hollow tube with 2mm thick walls for strength and flexibility. This way the top piece wouldn't just snap off one day. It will have room to move before it breaks, meaning it should last longer and be more durable. 

Comparing the two prototypes. The first (left) was made shorter so we could test some ideas. The final part (right) has shorter locating pins and a taller, hollow vertical part for stength inside the heel. 

Comparing the two prototypes. The first (left) was made shorter so we could test some ideas. The final part (right) has shorter locating pins and a taller, hollow vertical part for stength inside the heel. 

PROTOTYPING:

The first prototype also showed me that the locating pins didn't need to be as long as they were. These pins could be shorter and would not serve as a structural part of the heel. Some glue or sillicone could be used on them to keep them in place, but again, only for positioning, not strength - that's the job for the vertical guide piece.

The final prototype was 3D printed in under an hour. The most difficult part of making these was removing them from the build platform. Flexible materials like TPU stick to your (PEI) surface TOO WELL. Be careful not to set your first layer too close. This will create a stronger adhesion and you could damage the machine or yourself trying to remove it. A thin layer of glue stick can help by being the weaker layer the TPU attaches to so you don't ruin your PEI surface.

VIOLA! 

The final heel top piece was 3D printed and fitted to the heel. The customer was very excited that she could fix her shoes for $40 (design & 3D printing services), where a new pair could easily have cost her $150 or more. 

If you have any ideas for my next 3D printing project to fix anything - please share in the comments below or email me at ag3d.engineering if you have a project that 3D printing can help accomplish!

Thanks
Alex G. Orphanos