Prusa i3 MK2

SOLDERING PRINT BED ON PRUSA I3 MK2

3D PRINTER MAINTENANCE:

My Prusa i3 MK2 no longer was able to heat up the print bed so I could 3D print upgrade parts for the MK2.5S. This work-horse of a machine has brought many ideas into reality for a lot of our customers. Now we're 3D printing parts for a 3D printer to become another 3D printer! 

But first, I had to repair the broken wire causing the failed heated bed that happened from shear over-use. This is a maintenance repair for the printer, not a defect. Something that most people new to 3D printing (including myself) find out - 3D printers need work, especially if you want to make them work all the time. I enjoy repairing my 3D printers when I can, so I soldered the wire back and calibrated the printer. I am very new to soldering. If you have any tips please share them in the comments! Would love to learn!

Then, we printed the first of the replacement parts after running a Z-calibration and now we're able to 3D print for our customers again! Phew! 

3D Printing the Iron Throne | Game of Thrones Finale

3D Printing the Iron Throne | Game of Thrones Finale

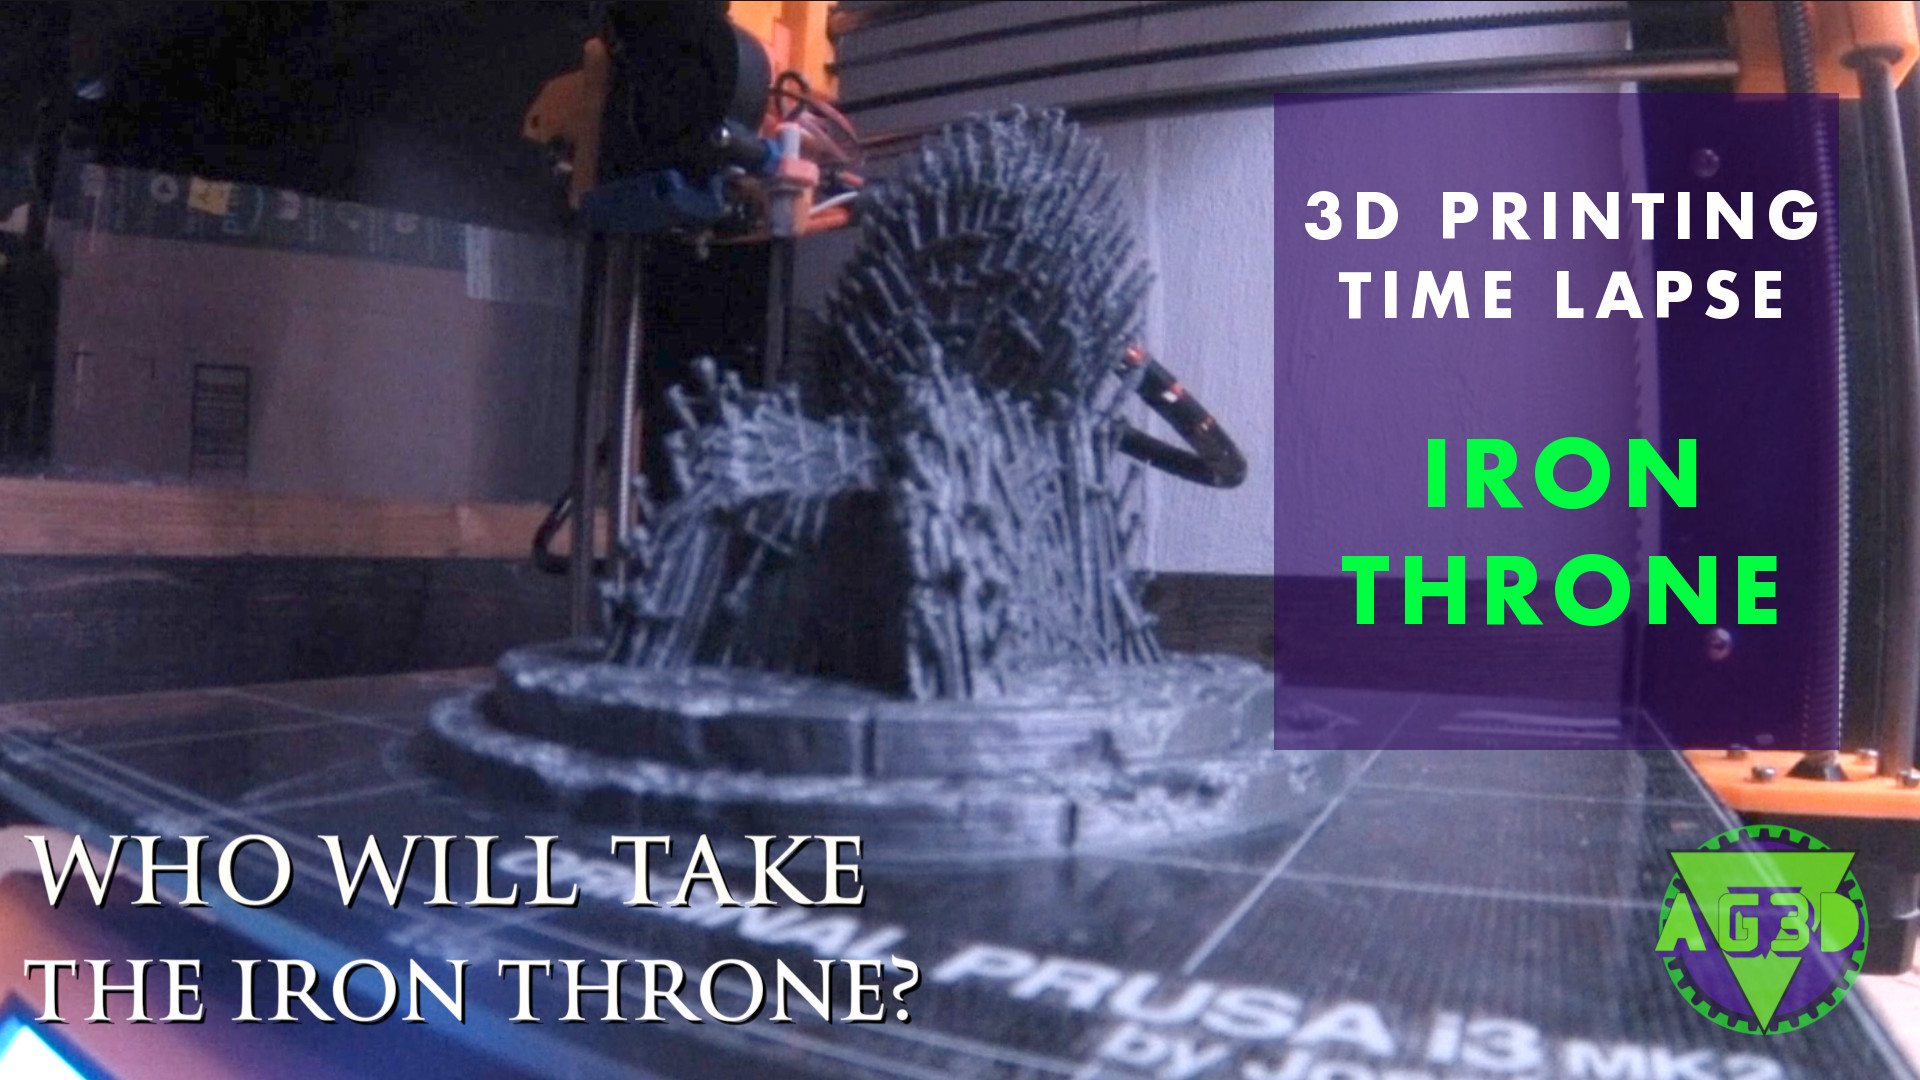
This model was 3D printed on the Prusa i3 MK2 with a metallic colored PLA from Amazon. The nozzle used was 0.6mm, and the layer height was 0.3mm which reduced our print time to just under 9 hours.

Using 3D Printing to fix a pair of high-heeled shoes

3dprinting_project_heel shoes.jpg

A customer reached out to me recently to see if it was possible to fix a pair of high heel shoes with 3Dprinting. The original heel top piece fell out of the shoe one night, but other than that the pair of shoes were perfectly fine. Not only was the replacement heel top piece possible, but it was a great opportunity to try out some exotic flexible material. 

Tools used:

  • Mitutoyo manual calipers

AG3D_3dprinting_calipers.JPG


  • Prusa i3 Mk2

Credit: Prusa Research

Credit: Prusa Research


  • Fusion 360 design software

Get it free as a student, educator, or academic institution! 

  • Simplify3D Slicing Software

  • SemiFlex 1.75mm TPU filament from NinjaFlex

NinjaFlex Semiflex 3D printing filament.jpg


DESIGN:

The 3D printed heel top piece was reverse engineered from the remaining top piece and the bottom of the exposed heel. I simply used a caliper to measure various parts of the bottom of the rubber heel shape, taking into account wear from use. After some initial measurements a few minutes of designing in 3D the bottom of the top piece was designed. 

One of the more challenging parts of this project was deciding how to properly reattached the top piece. Luckily, the original heel was designed with inserts and locating pin holes. This would make sure we could attach a new top piece in the right position in the heel without worrying about it spinning around in place and detaching after a few nights on the town.

The rest of the top piece design was simple: 

  1. Make a vertical piece in the center to go into the heel and provide most of the strength including preliminary positioning.
  2. The three pegs would be used to put the top piece in it's final position for bonding.
3dprinting fix heel shoe.JPG

For the sake of saving time, I took the initial measurements and made a prototype to test the design and fit of the part so far. It may not seem intuitive at first, but this iterative step allowed me to see how close my measurements were for the real life thing. So instead of finishing the design completely and then making the 3D printed part, I tested a smaller concept piece to see how the flexible material works with the heel.

Once I had the prototype made, I could make design decisions on things like:

  • The shape of the vertical guide piece
    • Should it be solid and stiff, or flexible and strong enough?
  • The height of the locating pins
    • Should they be as long as possible for added strength, or do they simply need to fit in place?

I could have spent a while trying to guess these things ahead of time, or simply spend less than an hour 3Dprinting a prototype and testing it on the heel itself. This is the power that 3D printing gives you when you design iteratively. Build and tweak your design faster and more purposely. Don't spend your whole time trying to finish the whole thing, because it will take you that much longer when the product is not what you wanted and you have to redesign the whole thing in reverse.

In total I spent an hour designing this from start to finish, including all of the minor tweaks and details for the second prototype. 

3D PRINTING:

Flexible Material:

It may not look like much, but tieing a knot with 3D printing filament is impossible, unless it's flexible! This gives you an idea of just how flexible SemiFlex is.

It may not look like much, but tieing a knot with 3D printing filament is impossible, unless it's flexible! This gives you an idea of just how flexible SemiFlex is.

3D printing with flexible materials is not easy. Even if you manage to 3Dprint properly with it, you have to print very slowly (35% regular speed) which can be cumbersome on larger or high detail projects. In order to get around the speed factor, I used a 0.60mm nozzle and a 300 micron layer height (default is 200 microns). This cut the print time in half to under an hour for each prototype because each layer is 50% larger. 3D printing flexible material is almost impossible on a Bowden style 3D printer, but with a direct drive extruder like the Prusa i3 MK2, simply shut off retraction and let it run!

Since the design doesn't require high detail I was able to successfully use both a larger extrusion line and layer size. I found that the semiflex material printed much easier when compared to using the default 0.40 mm nozzle. In retrospect that's not surprising, as the material will have a larger hole to exit the nozzle requiring less force to push it through the nozzle. This helps with flexible materials because they can get stuck and jam in smaller nozzles.

Most of the time, the flexible material will fail because it will bend if too much force is trying to extrude from the nozzle. It becomes as difficult as pushing on a rope (which if you've ever tried, is impossible). You have to find the right balance of "pull" from the extruder gear and pushback from the filament squeezing through the nozzle. With a bigger nozzle, the same settings worked just fine to extrude the flexible material.

WHAT DID I LEARN?

What I learned from the first prototype was that the vertical guide did not need to be a solid stiff piece, but worked much better as a hollow tube with 2mm thick walls for strength and flexibility. This way the top piece wouldn't just snap off one day. It will have room to move before it breaks, meaning it should last longer and be more durable. 

Comparing the two prototypes. The first (left) was made shorter so we could test some ideas. The final part (right) has shorter locating pins and a taller, hollow vertical part for stength inside the heel. 

Comparing the two prototypes. The first (left) was made shorter so we could test some ideas. The final part (right) has shorter locating pins and a taller, hollow vertical part for stength inside the heel. 

PROTOTYPING:

The first prototype also showed me that the locating pins didn't need to be as long as they were. These pins could be shorter and would not serve as a structural part of the heel. Some glue or sillicone could be used on them to keep them in place, but again, only for positioning, not strength - that's the job for the vertical guide piece.

The final prototype was 3D printed in under an hour. The most difficult part of making these was removing them from the build platform. Flexible materials like TPU stick to your (PEI) surface TOO WELL. Be careful not to set your first layer too close. This will create a stronger adhesion and you could damage the machine or yourself trying to remove it. A thin layer of glue stick can help by being the weaker layer the TPU attaches to so you don't ruin your PEI surface.

VIOLA! 

The final heel top piece was 3D printed and fitted to the heel. The customer was very excited that she could fix her shoes for $40 (design & 3D printing services), where a new pair could easily have cost her $150 or more. 

If you have any ideas for my next 3D printing project to fix anything - please share in the comments below or email me at ag3d.engineering if you have a project that 3D printing can help accomplish!

Thanks
Alex G. Orphanos


Custom Multi-Color Pokemon Stadium Chess Set and Board

One of my favorite views of the Mulit-Color Pokemon Chess Set from the Mewtwo sides perspective. This was made using Hatchbox3D PLA and 3D printed with the Prusa i3 MK2

One of my favorite views of the Mulit-Color Pokemon Chess Set from the Mewtwo sides perspective. This was made using Hatchbox3D PLA and 3D printed with the Prusa i3 MK2

A more focused view of the red/black Mew team on the multi color Pokemon Stadium chess set. The center board Pokeball was 3D Printed and inserted into the board. These parts were made using Hatchbox3D PLA and 3D printed with the Prusa i3 MK2

A more focused view of the red/black Mew team on the multi color Pokemon Stadium chess set. The center board Pokeball was 3D Printed and inserted into the board. These parts were made using Hatchbox3D PLA and 3D printed with the Prusa i3 MK2

A birds-eye view of the Pokemon Stadium Chess Set. You can see the multi-color 3D printed Chess pieces, the 3D printed Pokeball center insert, and the stadium pokeball risers on the corners. These pieces were made using Hatchbox3D PLA and 3D printed…

A birds-eye view of the Pokemon Stadium Chess Set. You can see the multi-color 3D printed Chess pieces, the 3D printed Pokeball center insert, and the stadium pokeball risers on the corners. These pieces were made using Hatchbox3D PLA and 3D printed with the Prusa i3 MK2

The Pokemon Stadium Chess board was the first time I had combined 3D printed parts with wooden products. I used a green stain to create the grass look of the stadium. The stained soft/hard wood created a weathered look that went very well with the f…

The Pokemon Stadium Chess board was the first time I had combined 3D printed parts with wooden products. I used a green stain to create the grass look of the stadium. The stained soft/hard wood created a weathered look that went very well with the final product. The 3D printed Pokeball insert and the Pokeball stadium risers really pop against the weathered look of the board itself. The accessories to the board were made using Hatchbox3D PLA and 3D printed with the Prusa i3 MK2

THE PROJECT & GOALS:

Custom Chess Set have become a great project for me lately. It started when I created my first Pokemon Chess set that I made as a Christmas present for my cousins, After the first chess set, I learned the basics of building a chess board and the 3D printing aspect of 3D printing multiple of the same objects at once. For the next Custom Chess Set project, I wanted to challenge myself and go further both in my woodworking and 3D printing skill sets.

The initial idea was to create a Pokemon-Stadium-from-Super-Smash-Brothers themed Chess set. I had just received my newest 3D Printer, the Prusa i3 MK2 and with it came lots of upgrades and abilities. One of which, was the ability to print parts in multi-color.

MULTI-COLOR 3D PRINTING:

For desktop 3D printers, it’s possible to print more than one color or material in the same print. Essentially, a piece of G-Code is added to specify which layer(s) of the part you will change color or material. (G-Code, for those who are unaware is the language of the 3D Printer that contains instructions to make all the moves, temperatures changes, and extrusion of material needed to make the part).

For multi-color 3D Printing, the printer needs to stop printing and move the hot extruder away from the part, so you can change the material. In this case, I just needed to change colors. But you could also print other materials, even a water-soluble support material that would make support removal effortless.

Prusa Research makes the whole process of changing 3D printer language easy because errors in your g-code could be disastrous for your print if you don’t do it right. Simply add the g-code you want, and select the height where the printer needs to change material. The hardest part is finding the right layer height to choose. I found a nice simple way to figure it out.

First, take your layer height (.2 mm in this case) and then multiply it by the layer number (easily found in Simplify3D during print preview. Simply slide the END bar to the layer you want to change). That will be the number you need to set the G-Code to. It will also be your first change of color, so make sure it’s where you want it.

For me I wanted each Pokemon to be a separate color from the chess piece body. So I set the color change layer to the first layer of the Pokemon’s body. The cool thing was this meant I could use the same G-code for both color pieces. All I needed to do was start with white/black, and then change to Blue/Red when prompted. A nice buzz goes off when I need to change the filament. Easy.

3D PRINTING IN BATCH:

3D printing in batch is what I call 3D printing multiples of the same objects at the same time. For example, with the chess set all I had to do was create one multi-color g-code file for both the Red/Black and Blue/White pieces. All I needed to do was start with black and change to red, or start with white and change to blue. This made the whole process a lot easier, and saved me ALOT of time compared to changing colors for each of the two sets of 16 pieces of the chess set. I only had to change colors x12 times for the whole set to be created (as opposed to the REALLY inefficient way of changing for each piece, which would be 32 times. Not ideal).

3D PRINTING PARAMETERS:

The parameters stayed the same from the first Pokemon Chess Set, and are based on the original setting laid out by the creator of the chess set on Thingiverse.com (roshandp1)

INFILL %: 10 (RECTALINEAR)

LAYER HEIGHT: 0.200 mm (Normal)

SUPPORTS USED: YES

But I did not require rafts to print these, and the bottoms came out nice and smooth. Glue stick and a 60*C bed temperature was used to ensure the PLA would remain secure during printing.

3D PRINTED INSERT:

In order to create the Pokemon Stadium look, there needed to be a Pokeball in the center of the board. I used a 3" hole bit for my drill and created the hole in the center of the board, after it had been bonded together. I then designed and printed two different, almost symmetric pieces that I bonded together and pressed into the center of the board.

Next time, I will make the 3D printed piece slightly smaller than the hole, and not exactly 3". I assumed the plastic shrinkage would give me enough room, but the insert was very tight and required more work than was necessary. All in all, I was very happy with the final look of it and am excited to try out more 3D printed inserts in wood soon.

3D PRINTED STADIUM RISERS:

Until my carpentry skills get a little better (and I have more available tools) making something completely flat is difficult when you only have a belt sander. An easier and better looking plan was to create the stadium risers on each corner of the board. I incorporated a Pokeball and my logo in each riser. After some testing, and a little glue and felt, the risers were complete. I realized after that the my logo was visible from every view of the board, which was pretty cool to notice when it was done.

CHESS BOARD UPGRADES:

One thing I learned from the first chess board was that anyone could make a chess board, but it's the style and extra work put into it that makes it special and unique. This time I tried a board with both hard wood and light wood, that brought some of it's own challenges but came out nice in the end. The light wood absorbed the green stain perfectly and created a grass/dirt field look to the stadium, giving it the appearance of being worn and used.

I used a more abrasive grit when sanding the board this time, because try as I might, when you bond the strips of wood together to make the boards checkered look, it gets uneven. I sanded the surfaces to a smooth, almost unified surface this time. I also added a board strip of wood with a different color to frame in the whole board and make room for the risers to be used. This also added to the weathered look of the stadium.

THOUGHTS ON PROJECT:

This project was challenging and entertaining to make. I enjoyed working on it during each step of the process. So much so, I am now offering Custom Chess board and set making from AG3D, so contact me for details if you're interested (ag3d.engineering@gmail.com). I also was able to extend my abilities with 3D printing VERY far, getting comfortable with both multi-color and batch 3D printing. I also managed to increase what I am capable of with custom chess boards and found a new passion to discover what other 3D Printed inserts I can do in wood.

If you have any ideas to 3D printed inserts, questions or comments on the project - please leave them in the comments below!

In the first game of Pokemon Stadium Chess, I played for Red/Black Mew and my friend played for Blue/White Mewtwo. I lost. The Mew and Mewtwo were played as Queens, seeing as they would clearly be the most powerful pieces on the board. The Pikachu p…

In the first game of Pokemon Stadium Chess, I played for Red/Black Mew and my friend played for Blue/White Mewtwo. I lost. The Mew and Mewtwo were played as Queens, seeing as they would clearly be the most powerful pieces on the board. The Pikachu pieces were played as Kings.

To a fantastic future!
Alex G. Orphanos